Tuesday, August 25, 2015

Fatta Fat Parotta


I named this recipe as fatta fat because, the dough doesn't need more resting time unlike the usual parottas. I added vital wheat gluten to make the gluten formation process quick, since you add the ready made gluten u don't have to wait for a long time.

Ingredients needed are 1 cup all purpose flour/maida, 2 tbsp of vital wheat gluten, 2 eggs, salt and water.


Mix all the ingredients well and knead it into a soft dough, needs resting time about 1hr so keep it in a warm place.

                                    After 1 hr knead it again and divide into desired size balls.


Dust some flour and roll it into thin sheet like this and brush the sheet with oil/butter.


Now take the sheet from the rolling surface by gently lifting one end of the sheet, if it tears while taking it don't worry that's ok coz any how we are gonna roll it again, it will look like a piece of cloth, roll into spirals and keep it aside, do this process for all the balls.


Now roll the spirals into flat parotta, please note don't make make it thin and be gentle while rolling, do not apply more pressure, coz air has to be trapped inside it else the parottas won't be flaky.


Heat the tawa spread some oil and cook it on each side for about 2 mins, yes it consumes more oil, so if u are diet conscious, this recipe is not for you guys, but still you can have it once in a while since it's home made, unlike the store bought frozen parottas has too much of fat in it. Hope you enjoy trying out this recipe.


                       You can have this with any kind of gravy, I made chicken chetiinad gravy.

Tuesday, July 21, 2015

Mawa Muffin


Muffin made out of Khoa/Mawa


Ingredients Needed:  1cup all purpose flour/maida
                                 1/2 cup sugar
                                 6oz of Mawa/ khoa
                                 1/2tbspn vanilla essence
                                 1tbspn baking powder
                                 3 eggs
                                 1/4 cup oil


                  Beat the eggs well, my little one is helping to beat it, she did a good job.


              Add the sugar beat it up again and then add the vanilla essence and baking powder.


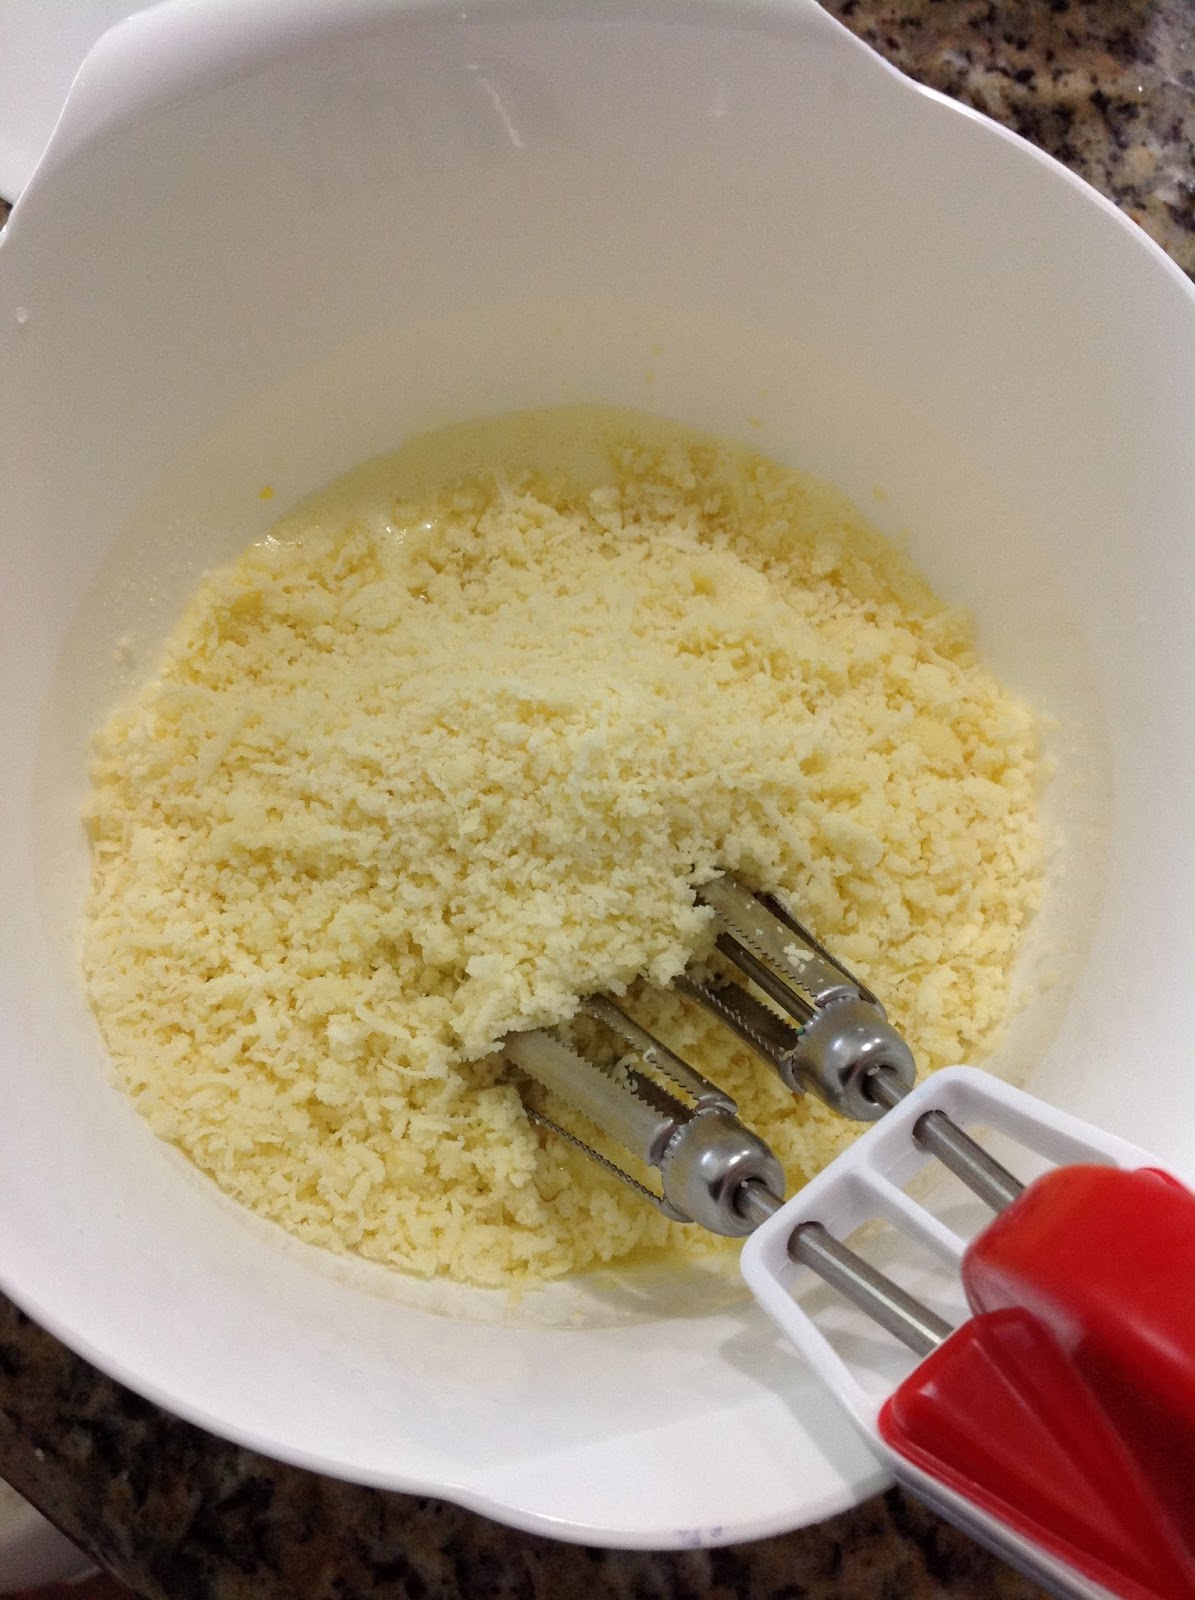
      Grate the mawa/khoa and add it to the mixture, the batter gets to tighten up at this time, so give it a                                               gentle stir and then add the oil and mix it well.


                  After mixing it up well add the flour and beat the batter for about 5 to 8 mins.


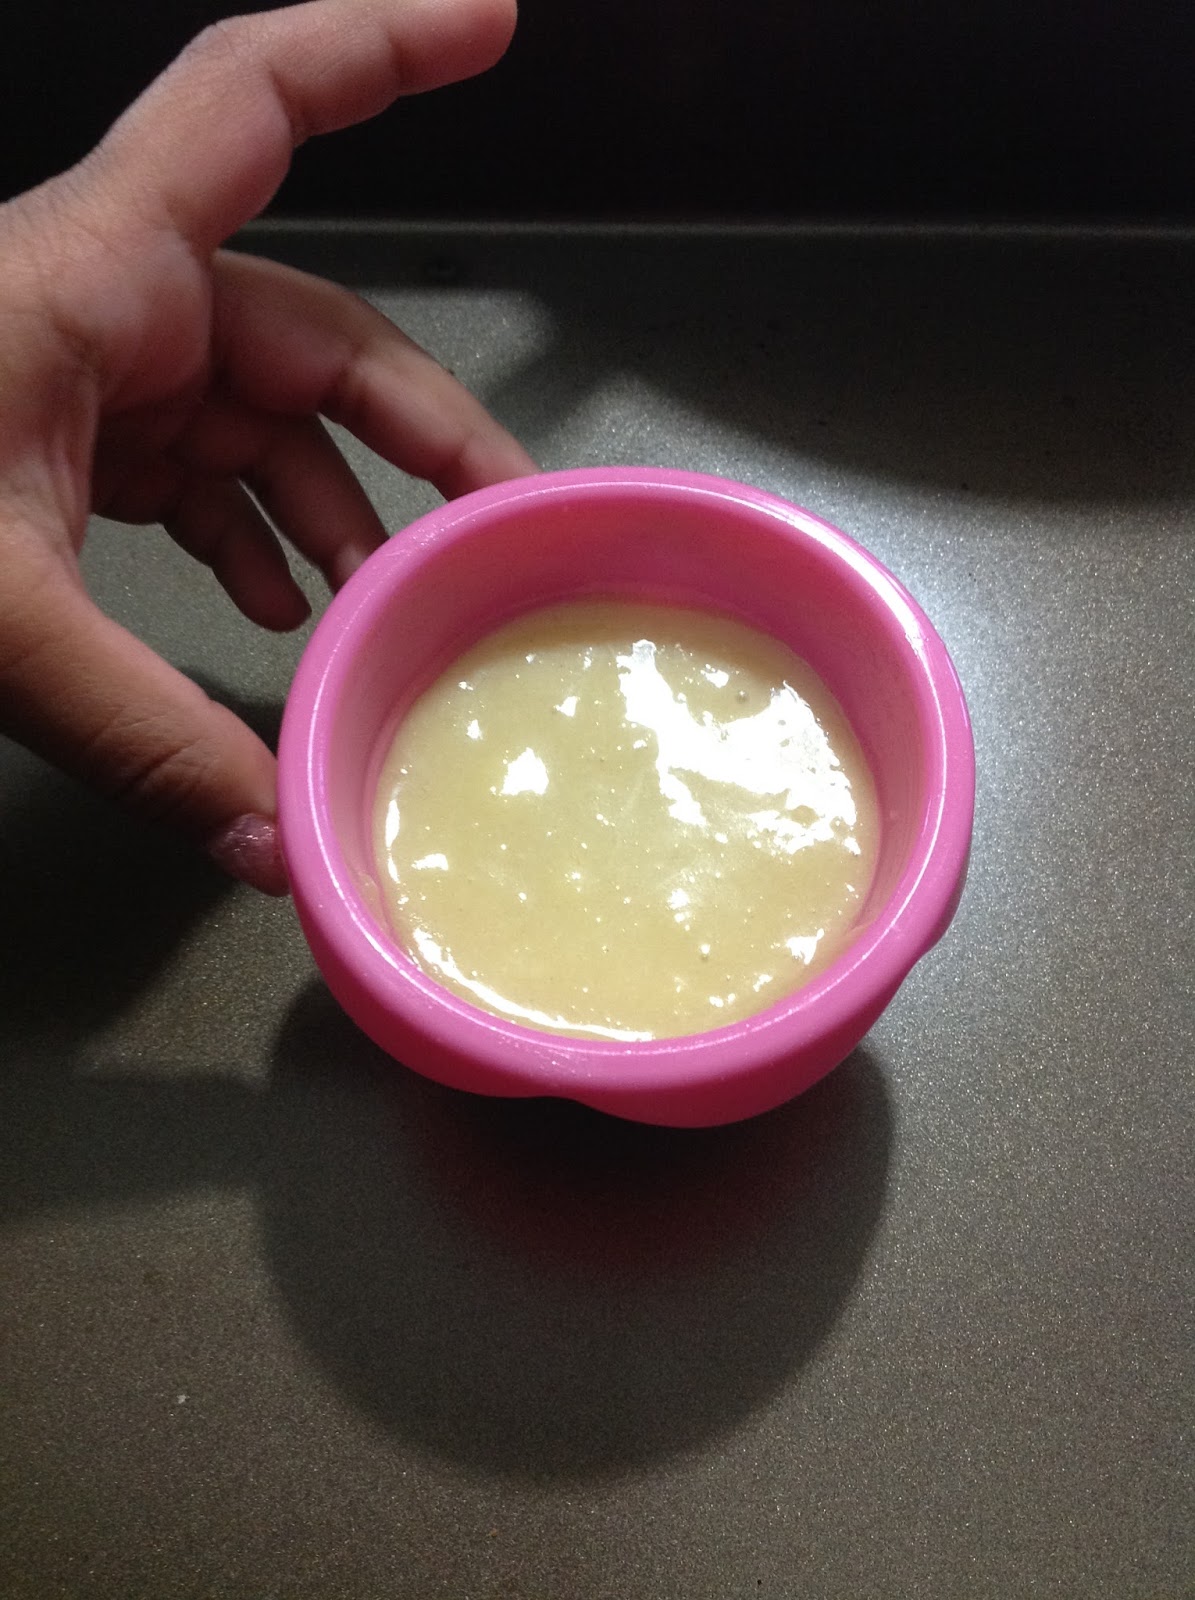
The consistency of the batter should be like this, add some water if the batter is too thick and then add it to the mold and fill just 3/4th of the cup. Bake it in the oven at 350c for 10 to 15 mins.


Tuesday, June 30, 2015

KID'S ROOM DECOR

     
                                                               Easy Wall Art


Materials needed are
                                1: Canvas board of any size, I have used 16''x20'' board.
                                2: Acrylic colors of your choice.
                                3: Painters tape.
                                4: Paint brush or sponge.
                                5: Wooden animal cutouts (not necessary).
                                6: Stencils of your choice (not necessary).
                                7: Glue

Stick the painters tape in which ever way you want, but make sure the edges of tape gets stuck to the board well, if not the paint seeps through the tape, I used hot air gun to dry the paint quick, but the heat made the tape to loose its stickiness and the paint started bleeding into the edges, I tried to fix it by painting the edges white, but didn't turn out as expected, so please be patient unlike me and let it dry naturally.

So here me and my daughter taped the board and she wanted to decorate it some animals, so we placed the animals and checked for the layout and decided which color to paint.
You can either buy the painted animal cutout or the plain wooden ones and color it according to the kids wish.


If you apply the paint away from the edges that will reduce the bleeding into the space. Let it dry completely and then remove the tapes, before removing the tape you can give a second coat of paint if needed.


I have used some stencils to add some extra details, you can just leave it plain if you want to, I have used metallic markers to color it, trust me it's very easy compared to working with paint and you will achieve a defined outline unlike the sponge work.


         I used hot glue gun to stick the animals to the board, you can use tacky glue or the E600. 

Thursday, May 28, 2015

Bitter Gourd Rasam

Pagarkaya Rasam by Rama Eshwar

Ingredients Needed : Bitter gourd, tamarind juice, turmeric, roasted sesame seed powder, green chiilies, onion, cilantro, ginger garlic paste, jaggery.


First step cut the bitter gourd into your desired size and shape after removing seeds and add 1 tbspn of salt and 1 tbspn turmeric mix it well with a spoon, make sure you don't break the pieces and keep it aside for about 15 mins.

In the mean time cut onions, green chillies and grind G&G paste.


Heat some oil and add the green chillies, saute it for about a minute or so.

Then add the chopped onions and cook it till it becomes light brown.

Then add the ginger garlic paste and half tbspn of turmeric.


Now mix the marinated bitter gourd with hand and squeeze it gently so that you can get rid off the bitterness from the vegetable and wash it in running water well and then add to the sauteed mixture.


Cook it for about 1 min and add 1tbspn of sugar and cook it for about 3 mins, then add the tamarind extract, salt and let it boil for about 5 mins and then add half tbspn of jaggery powder and about 2 pinches of roasted jeera powder and then boil it for 10 mins or boil it till the oil gets separated from the rasam and then add 2tbspn of roasted sesame seed powder and boil it for 2 mins and add the cilantro before turning off.


Wednesday, May 20, 2015

Biryani For Beginners

Chicken Biryani


I have tried various styles of Biryani, but this is one of my favorite, Even though it's a lengthy process, I like the outcome, as people say the more effort you put, the better outcome you get. Ok let's jump on to the procedure.

Ingredients Needed : 3 medium to large onions thinly sliced, 3 medium tomatoes finely chopped, green chillies, ginger and garlic paste about 50gm, turmeric, cilantro, mint and whole spices of course.
I have used about 3 pounds of whole chicken and 3 cups of basmati rice ( not the U.S measuring cup, I measured using the Indian Rice cooker measuring cup, if you are not sure what am talking about, the cup is of the same size as the tide detergent measuring cup.


Heat some oil or ghee in heavy bottom pan, coz the g&g(ginger and garlic)paste tends to stick on the bottom, so if you use a heavy bottomed pan it won't burn. Add the whole spices.


Add the g&g paste once the spices start to splutter, saute it for about 2 to 3 mins make sure it doesn't burn, mine looks little bit burned coz I went to do dishes in the mean time, so please don't go away while cooking it, coz if you burn it, that will ruin the whole dish.


Add the onions and green chillies and saute it for about 10 mins in medium heat, the moisture should be completely gone and it should be nice and brown.


Once the onions become dry add the tomatoes and cook it for about 7 to 8 mins till the oil gets separated out from the mixture.


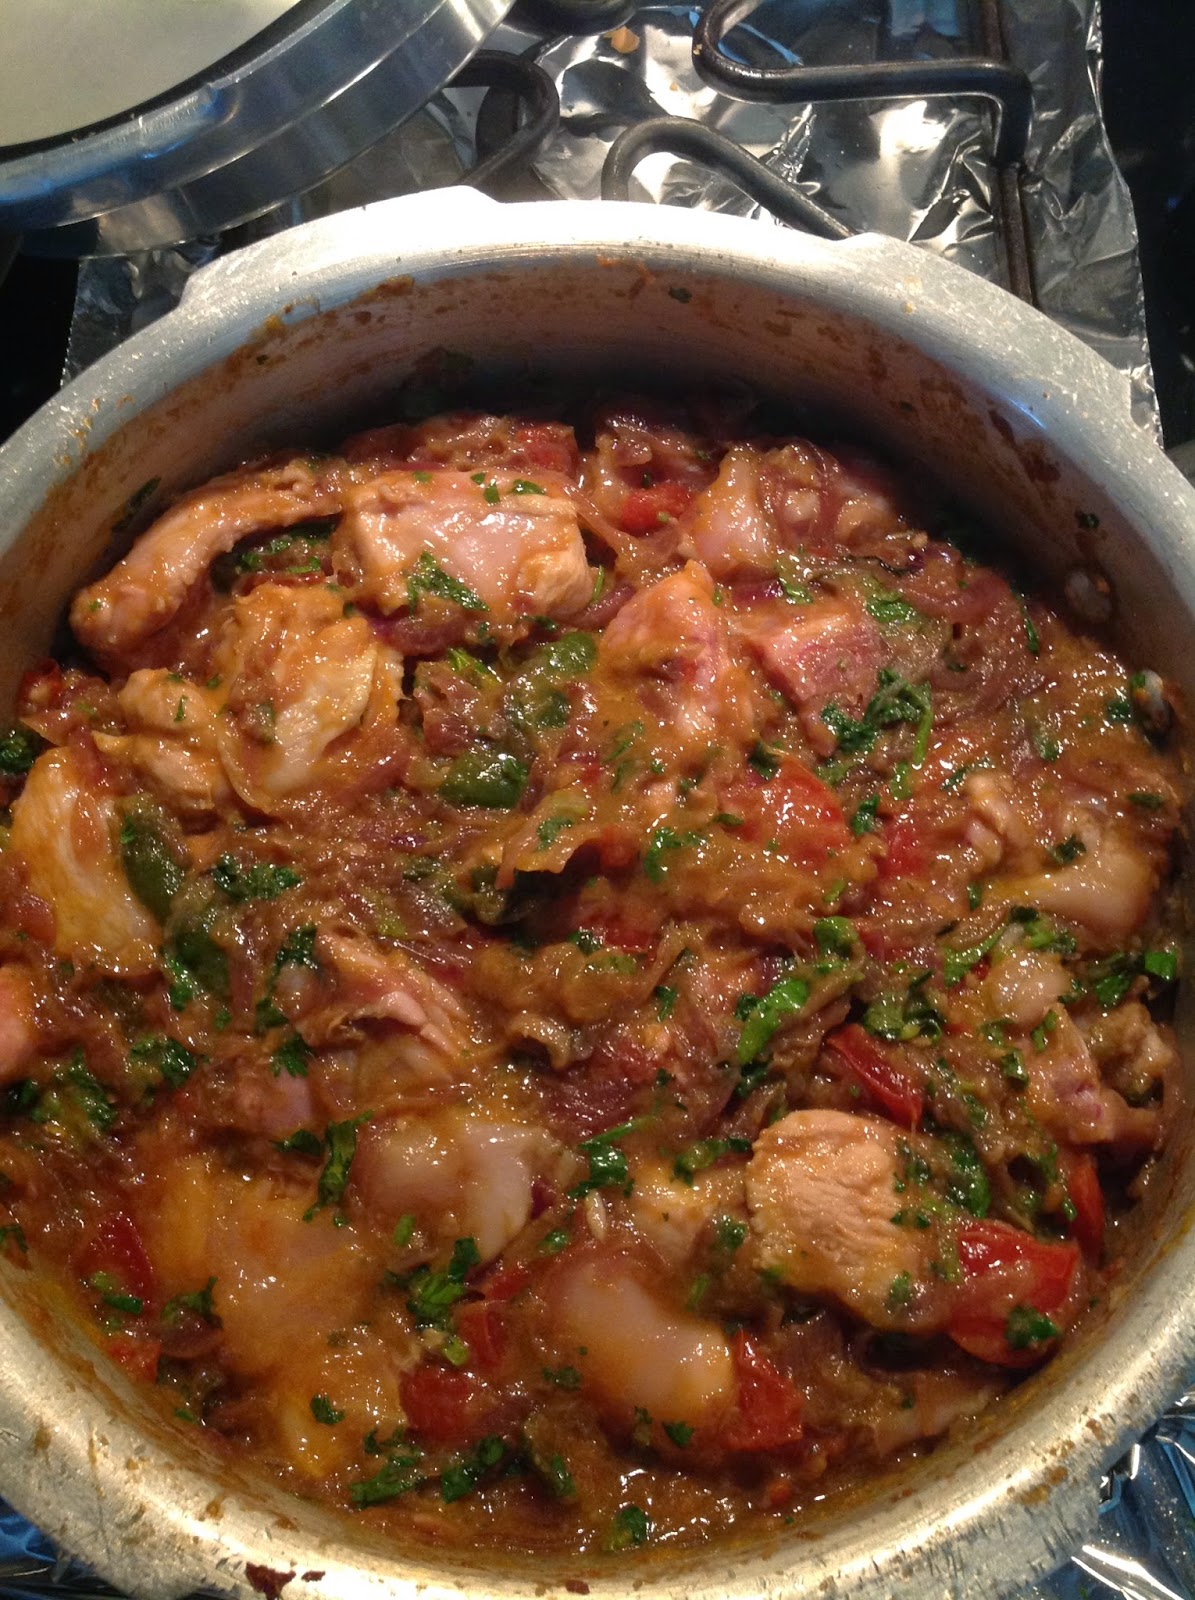
Then add the washed chicken, turmeric and the chopped, save some cilantro and mint for the rice and add the remaining and mix it well adding the required amount of salt for the chicken gravy alone, coz we are gonna cook the rice with salt so don't worry about it.
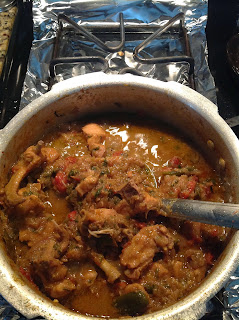
                             

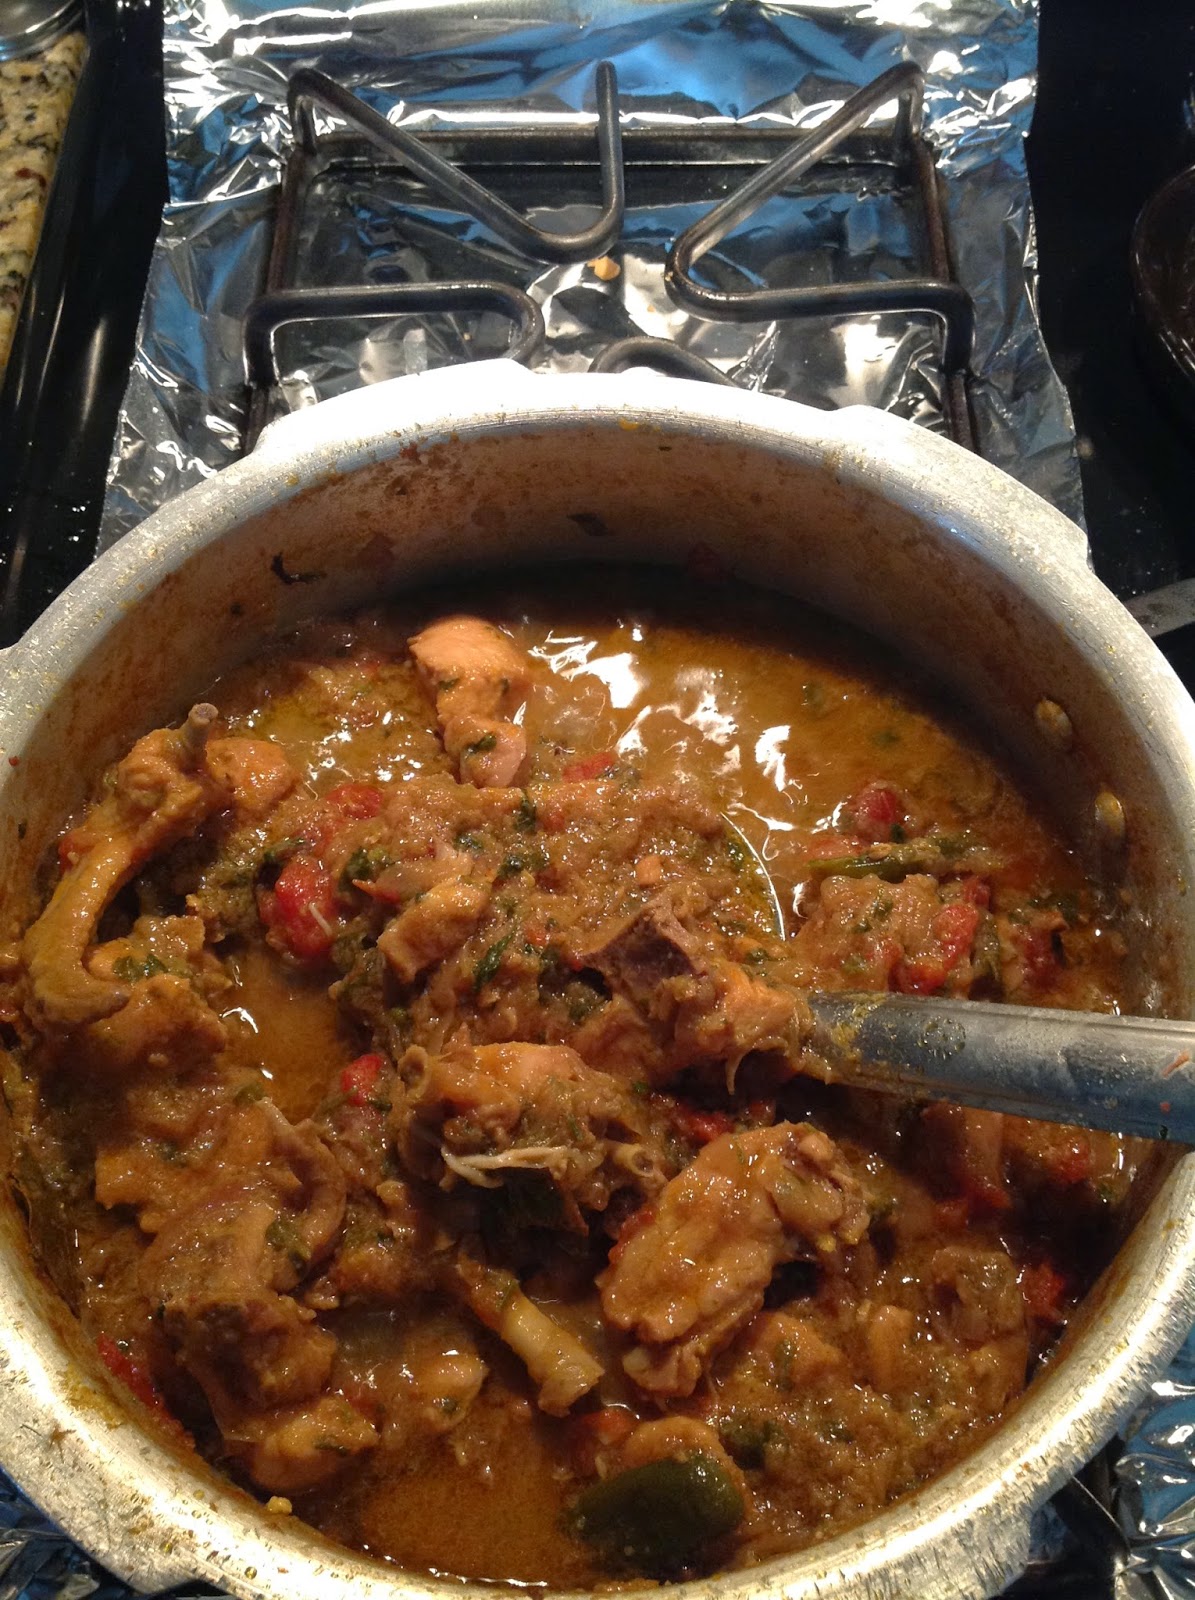
Cook the chicken covered or uncovered depending on your wish, but don't add water in either way, I pressure cooked for about 1 whistle coz I have used the whole chicken, if you are using boneless you don't have to pressure cook it, If the chicken oozes out too much of water, then let it boil till extra water evaporates until the gravy becomes thick or the consistency of pav bhaji, or a thick porridge, sorry guys nothing comes to my mind to compare the consistency of it, but make sure its not watery or a runny gravy.


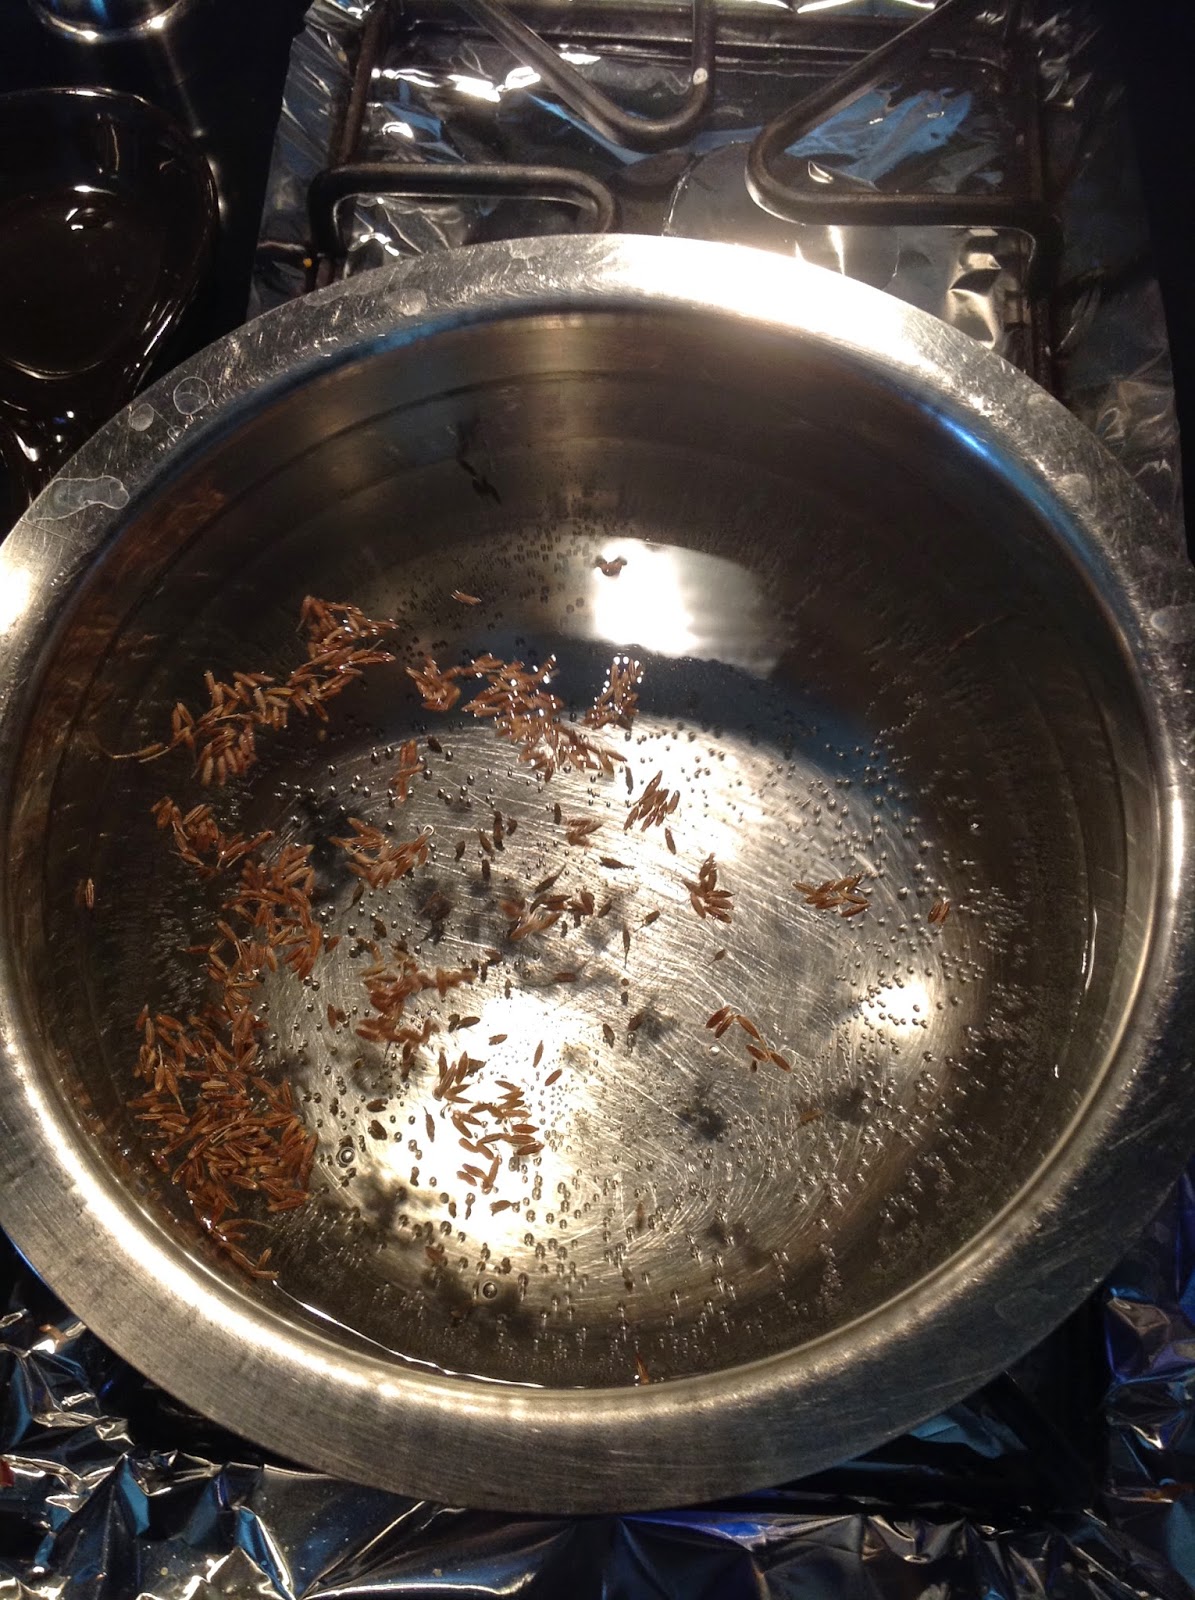
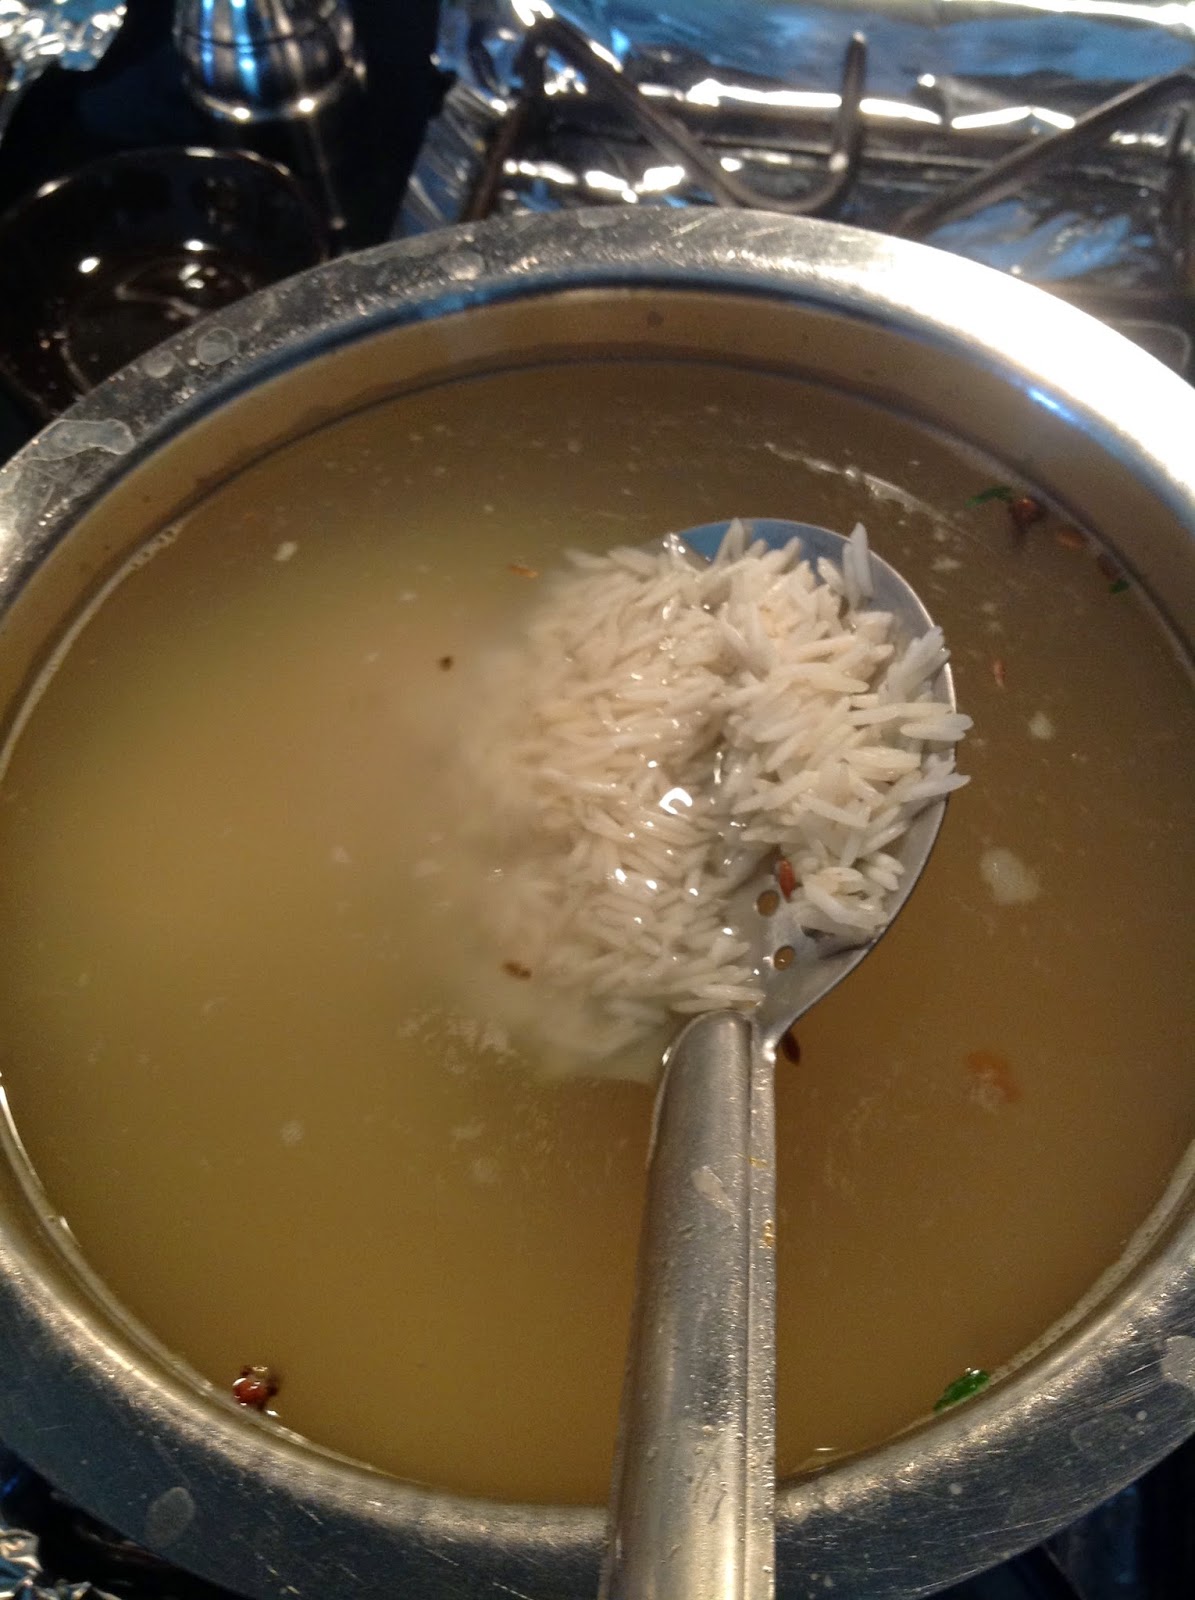
In the mean time boil the water required for the rice,  add salt to the water, till the you could taste the salt in the water, at the same time the water should not be too salty or under salted, when you taste the boiled water, you should be able to taste the salt, add some cumin seeds and cloves. Once the water comes to boil add the rice and please note it " I have soaked the rice over night ".

This is the most important step please don't go away from the stove coz it tends to get cooked within 3 to 5 mins since its been soaking for over night.


The rice should be of this size and it should be done only 75% it should not be completely cooked, when you press the rice between your thumb and index finger, the rice should be firm but not hard and you should not feel the grain of the rice. Now strain the water and keep it aside.


Now place a wide bottomed pan or a pot which has tight lid to close. Add about 2 laddles of chicken gravy and layer rice on top of it.


                                        Alternate with layers of rice and gravy.


Add the final layer of rice and add the herbs and few strands of saffron( not necessary ). Since I don't know what to do with it I went ahead and added it, Now close the lid and let it sit in a low heat for about 45 mins to 1 hour, yes I know it's a lot of cooking time, but as I said before it's a lengthy process, but you can't go wrong, beginners could try it, when I can do it anybody can do it.


This is how it will look after cooking it for an hour, I messed up with the lightings, so it looks dark and yellowish.


                                               You Can enjoy it with cucumber raita.